How to Choose the Right Repair Kit for Your Valve Model
Summary
• Choosing the correct OEM-matched repair kit ensures proper sealing, safety, and long-term valve performance while preventing repeat failures and downtime.
• Accurate valve identification — including model, materials, and revision details — is essential to avoid ordering incompatible spares.
• Working with a specialist supplier reduces costly mistakes and guarantees the repair kit matches the valve’s operating conditions.

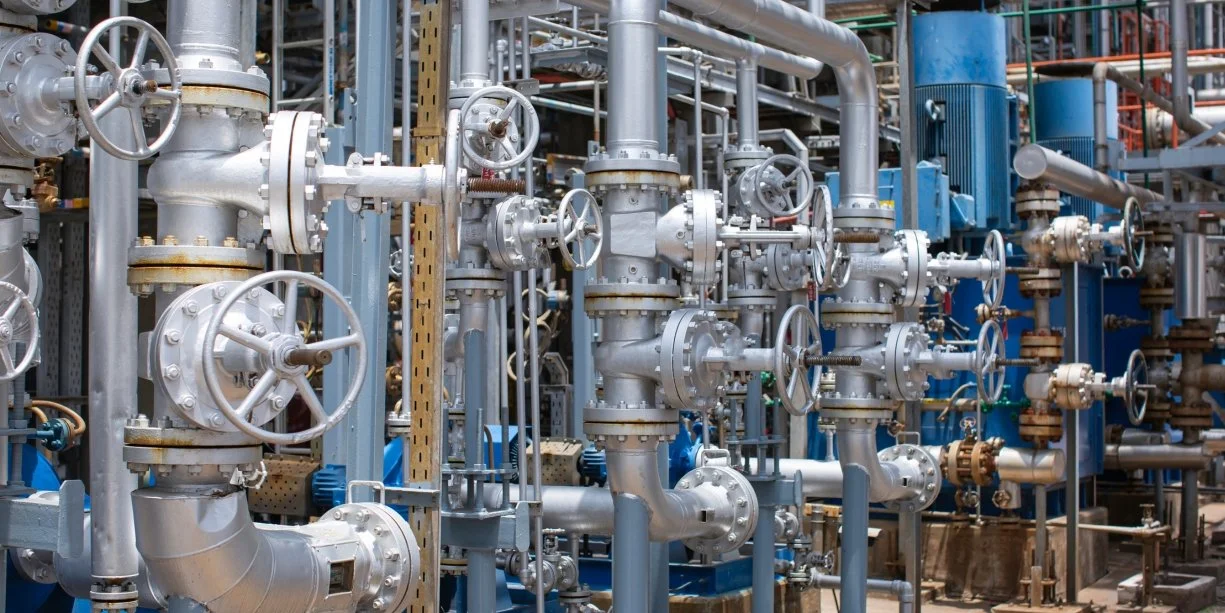
Choosing the correct valve repair kit is one of the most important decisions in any maintenance or refurbishment process. A poorly matched kit can lead to leaks, reduced performance, premature failure, and costly downtime. In industrial systems where valves control pressure, flow, and safety, precision matters. Matching OEM parts correctly and avoiding common ordering mistakes ensures reliability, compliance, and long-term performance.
This guide explains how to select the right repair kit for your valve model, what information you must confirm before ordering, and the most common mistakes maintenance teams make when sourcing spares.
Why OEM Matching Matters in Valve Repairs
Valve repair kits are engineered specifically for each valve design. Even small dimensional differences in seals, seats, or trim components can prevent proper sealing and cause system inefficiency.
OEM matching ensures:
• Correct tolerances for sealing surfaces
• Material compatibility with media and temperature
• Pressure rating compliance
• Long-term durability
• Manufacturer warranty alignment
Using non-matched or “close enough” kits may appear cost-effective in the short term, but often results in repeat repairs, production stoppages, and safety concerns. Industrial valves operate under strict mechanical and environmental limits. OEM kits are designed to perform within those exact parameters.
Identifying Your Valve Model Correctly
Before ordering any repair kit, you must confirm the valve’s full identification details. This information is typically found on the nameplate or body casting.
Critical information includes:
• Manufacturer name
• Valve model or series number
• Size and pressure rating
• Body and trim material
• Seat and seal type
• Actuator model (if applicable)
• Serial or batch number
Even valves from the same manufacturer may use different seal geometries or trim configurations depending on production year or revision.
Always cross-reference with manufacturer documentation or technical drawings before ordering.
Photographs of the valve nameplate and internal components can also help repair specialists confirm compatibility.
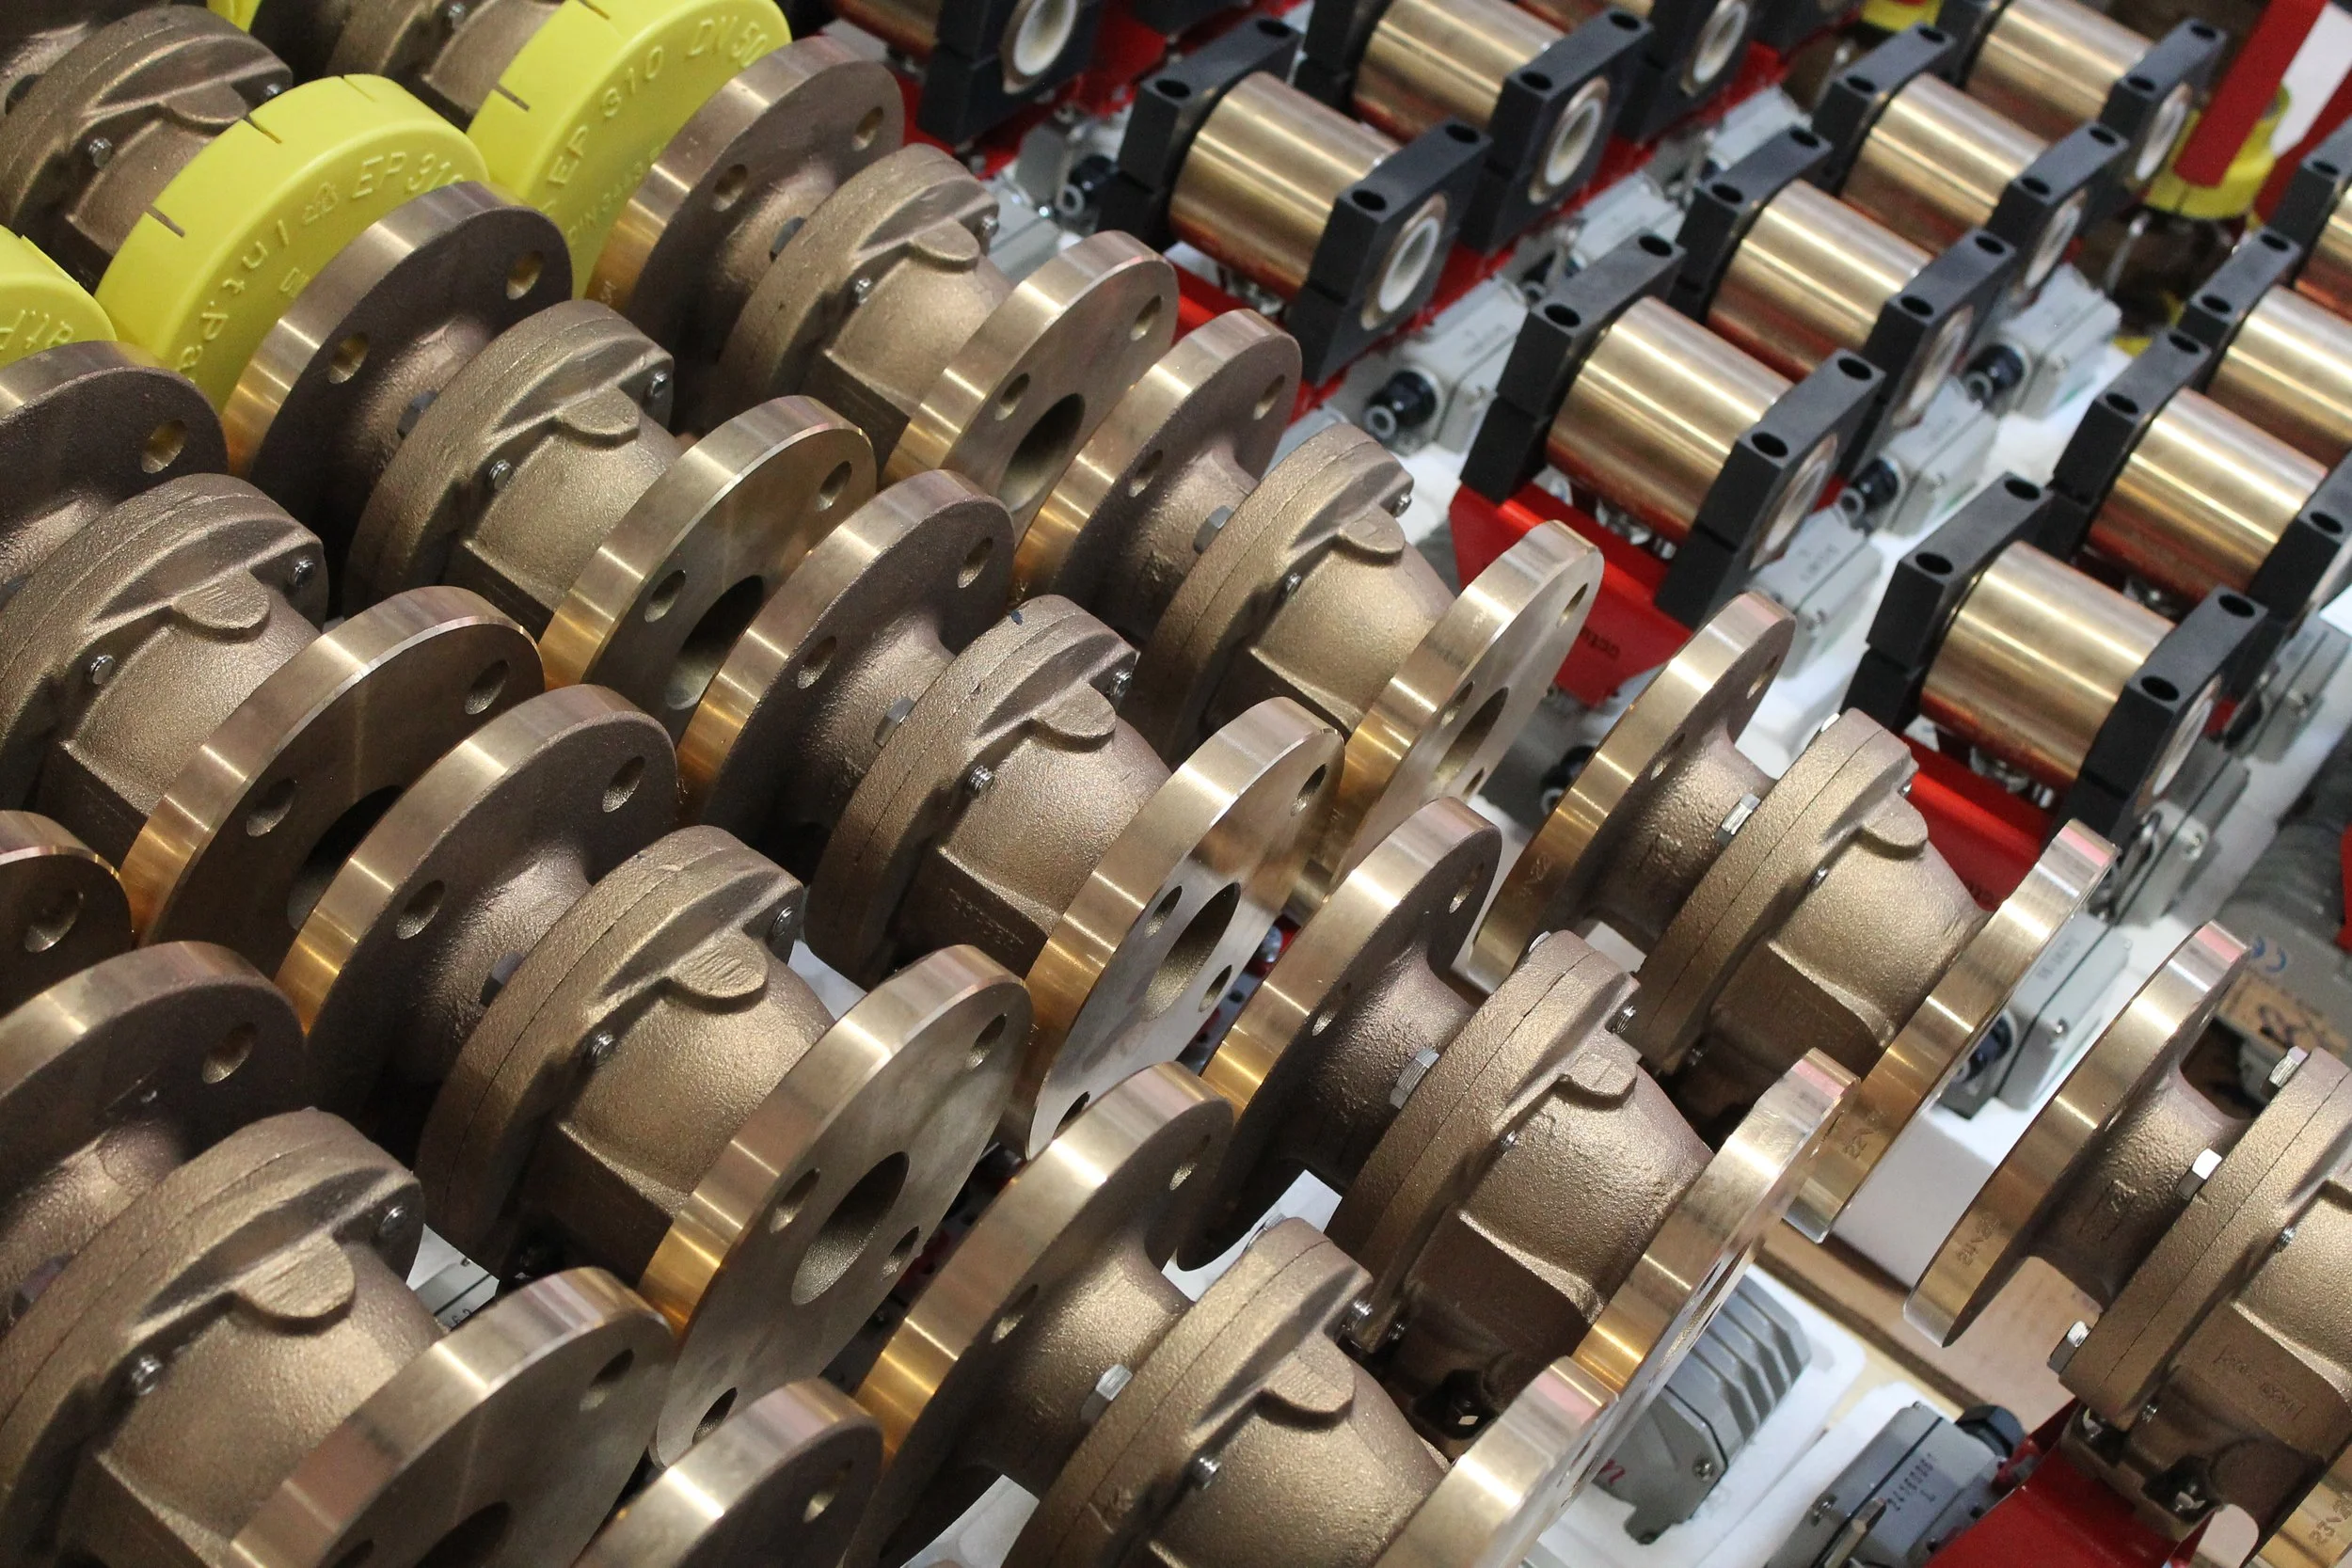
Understanding What’s Inside a Repair Kit
A valve repair kit is not just a random collection of seals. Each kit is engineered around the valve’s internal geometry and operating environment.
Typical components include:
• Seat rings
• O-rings and sealing elements
• Gaskets
• Packing sets
• Stem seals
• Springs or small hardware
• Trim components (depending on design)
The exact contents vary by valve type. Ball valves, butterfly valves, globe valves, and control valves all require different internal configurations. Knowing what is included helps prevent ordering incomplete kits or unnecessary extras.
Always verify the kit contents list against your maintenance requirements.
Common Mistakes When Ordering Valve Repair Kits
Many ordering errors occur because of assumptions rather than verification. These mistakes can delay projects and increase costs.
Common issues include:
Ordering by size only
Valve size alone is not enough. Two 2-inch valves from the same manufacturer may require different kits depending on trim or seat configuration.
Ignoring material compatibility
Incorrect elastomers or seat materials can degrade rapidly in chemical or high-temperature service.
Mixing aftermarket and OEM components
Combining parts from different sources can compromise sealing performance.
Not confirming revision numbers
Manufacturers update designs. A kit for an older revision may not fit newer production models.
Skipping technical support
Consulting specialists before ordering reduces risk and saves time.
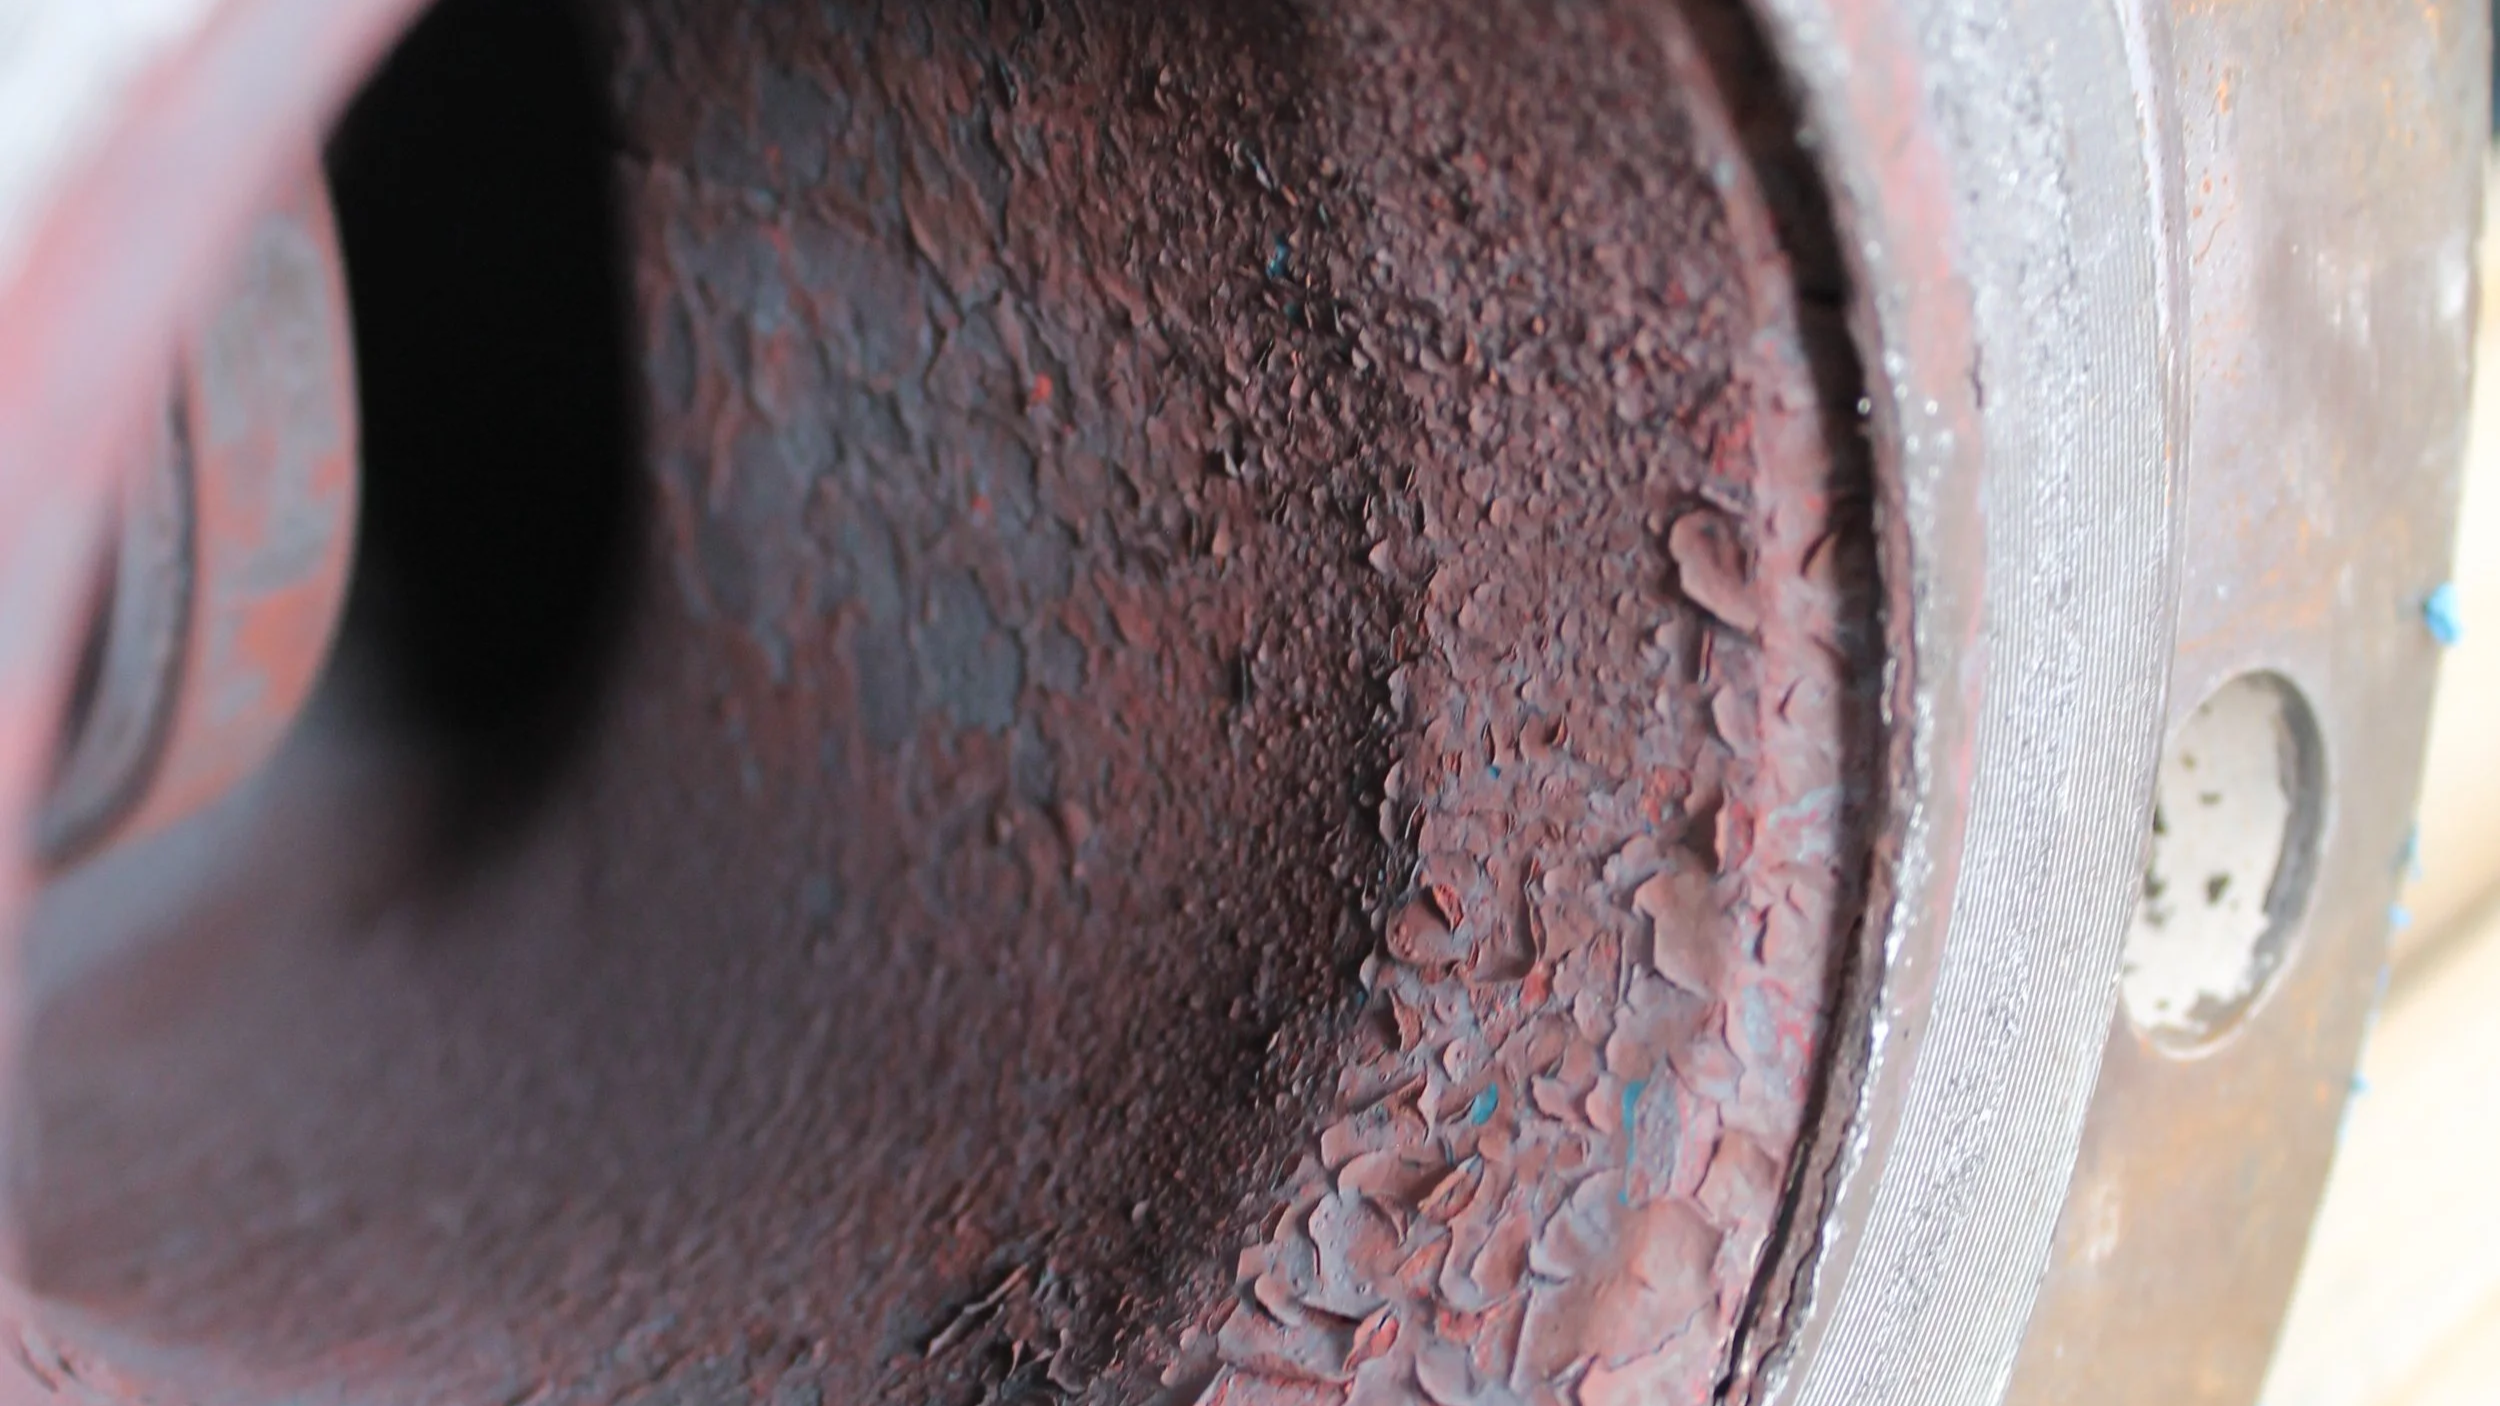
When to Replace Instead of Repair
Not every valve should be repaired. If body damage, corrosion, or structural wear is present, replacing the valve may be safer and more economical.
Repair kits are ideal when:
• Internal seals are worn
• Seats show erosion
• Packing leaks are detected
• Preventive maintenance is scheduled
They are not a solution for cracked bodies, warped flanges, or severe mechanical damage.
A professional inspection helps determine whether refurbishment or replacement is the correct path.
Working With a Specialist Supplier
Choosing a knowledgeable repair partner is just as important as choosing the kit itself.
Specialists can:
• Identify obscure valve models
• Source OEM-certified components
• Verify compatibility
• Provide refurbishment services
• Pressure test after repair
A reliable supplier acts as a technical partner, not just a parts vendor. This reduces downtime and improves long-term system performance.
Final Thoughts
Selecting the right repair kit protects both equipment and operations. Proper identification, OEM matching, and expert guidance prevent costly mistakes.
Industrial valves operate in demanding environments, and precision in maintenance directly affects safety and productivity.
Investing time in accurate kit selection ensures repairs are done once, correctly, and with confidence.