Step-by-Step Valve Inspection Checklist for Maintenance Teams
Summary
• A structured valve inspection checklist helps maintenance teams detect leakage, wear, and actuator issues early, preventing unexpected downtime and improving overall plant safety
• Recording consistent measurements such as pressure, temperature, stroke time, and vibration turns routine inspection into predictive maintenance intelligence
• Following a defined inspection schedule based on valve duty and criticality extends equipment life, reduces repair costs, and ensures reliable system performance

A structured valve inspection checklist is one of the most effective ways to prevent unplanned downtime, extend equipment life, and maintain system safety. For maintenance teams working with industrial valves, a consistent inspection routine ensures small issues are detected before they become costly failures. This guide explains what to inspect, how often to inspect valves, and what measurements should be recorded during each check.
Why Regular Valve Inspection Matters
Industrial valves operate in demanding environments involving pressure, temperature, vibration, and chemical exposure. Over time, even high-quality valves experience wear. A formal valve inspection checklist allows maintenance teams to:
• Identify early signs of leakage
• Detect actuator misalignment
• Prevent catastrophic valve failure
• Maintain compliance with safety standards
• Reduce repair and replacement costs
Routine valve inspection is not just maintenance — it is a risk management strategy.
External Visual Inspection Checklist

The first stage of any valve inspection should be a thorough external visual check. This step helps teams quickly spot obvious problems without disassembly.
During visual inspection, maintenance teams should examine:
• Body condition – Look for corrosion, cracks, dents, or coating failure
• Flange connections – Check for bolt looseness or gasket seepage
• Stem condition – Inspect for bending, scoring, or corrosion
• Packing area – Look for visible leakage or packing degradation
• Actuator mounting – Confirm secure alignment and mounting integrity
• Position indicator – Verify correct open/closed position display
Visual inspection should be recorded with photographic documentation whenever possible. This creates a historical record for trend analysis.
Recommended frequency:
High-duty valves: weekly
Process-critical valves: monthly
Standard service valves: quarterly
Leakage Detection and Seal Integrity
Leakage is one of the most common valve failure indicators. Maintenance teams must inspect for both external leakage and internal seat leakage.
Key checks include:
• Stem packing leakage – Look for weeping or residue buildup
• Body seal integrity – Check joint lines and bonnet areas
• Downstream pressure readings – Detect internal seat leakage
• Acoustic monitoring – Listen for abnormal flow noise
A sudden increase in downstream pressure may indicate seat wear or seal failure. These readings should always be logged and compared with previous inspections.
Recommended frequency:
Critical isolation valves: monthly
Control valves: monthly
General service valves: quarterly
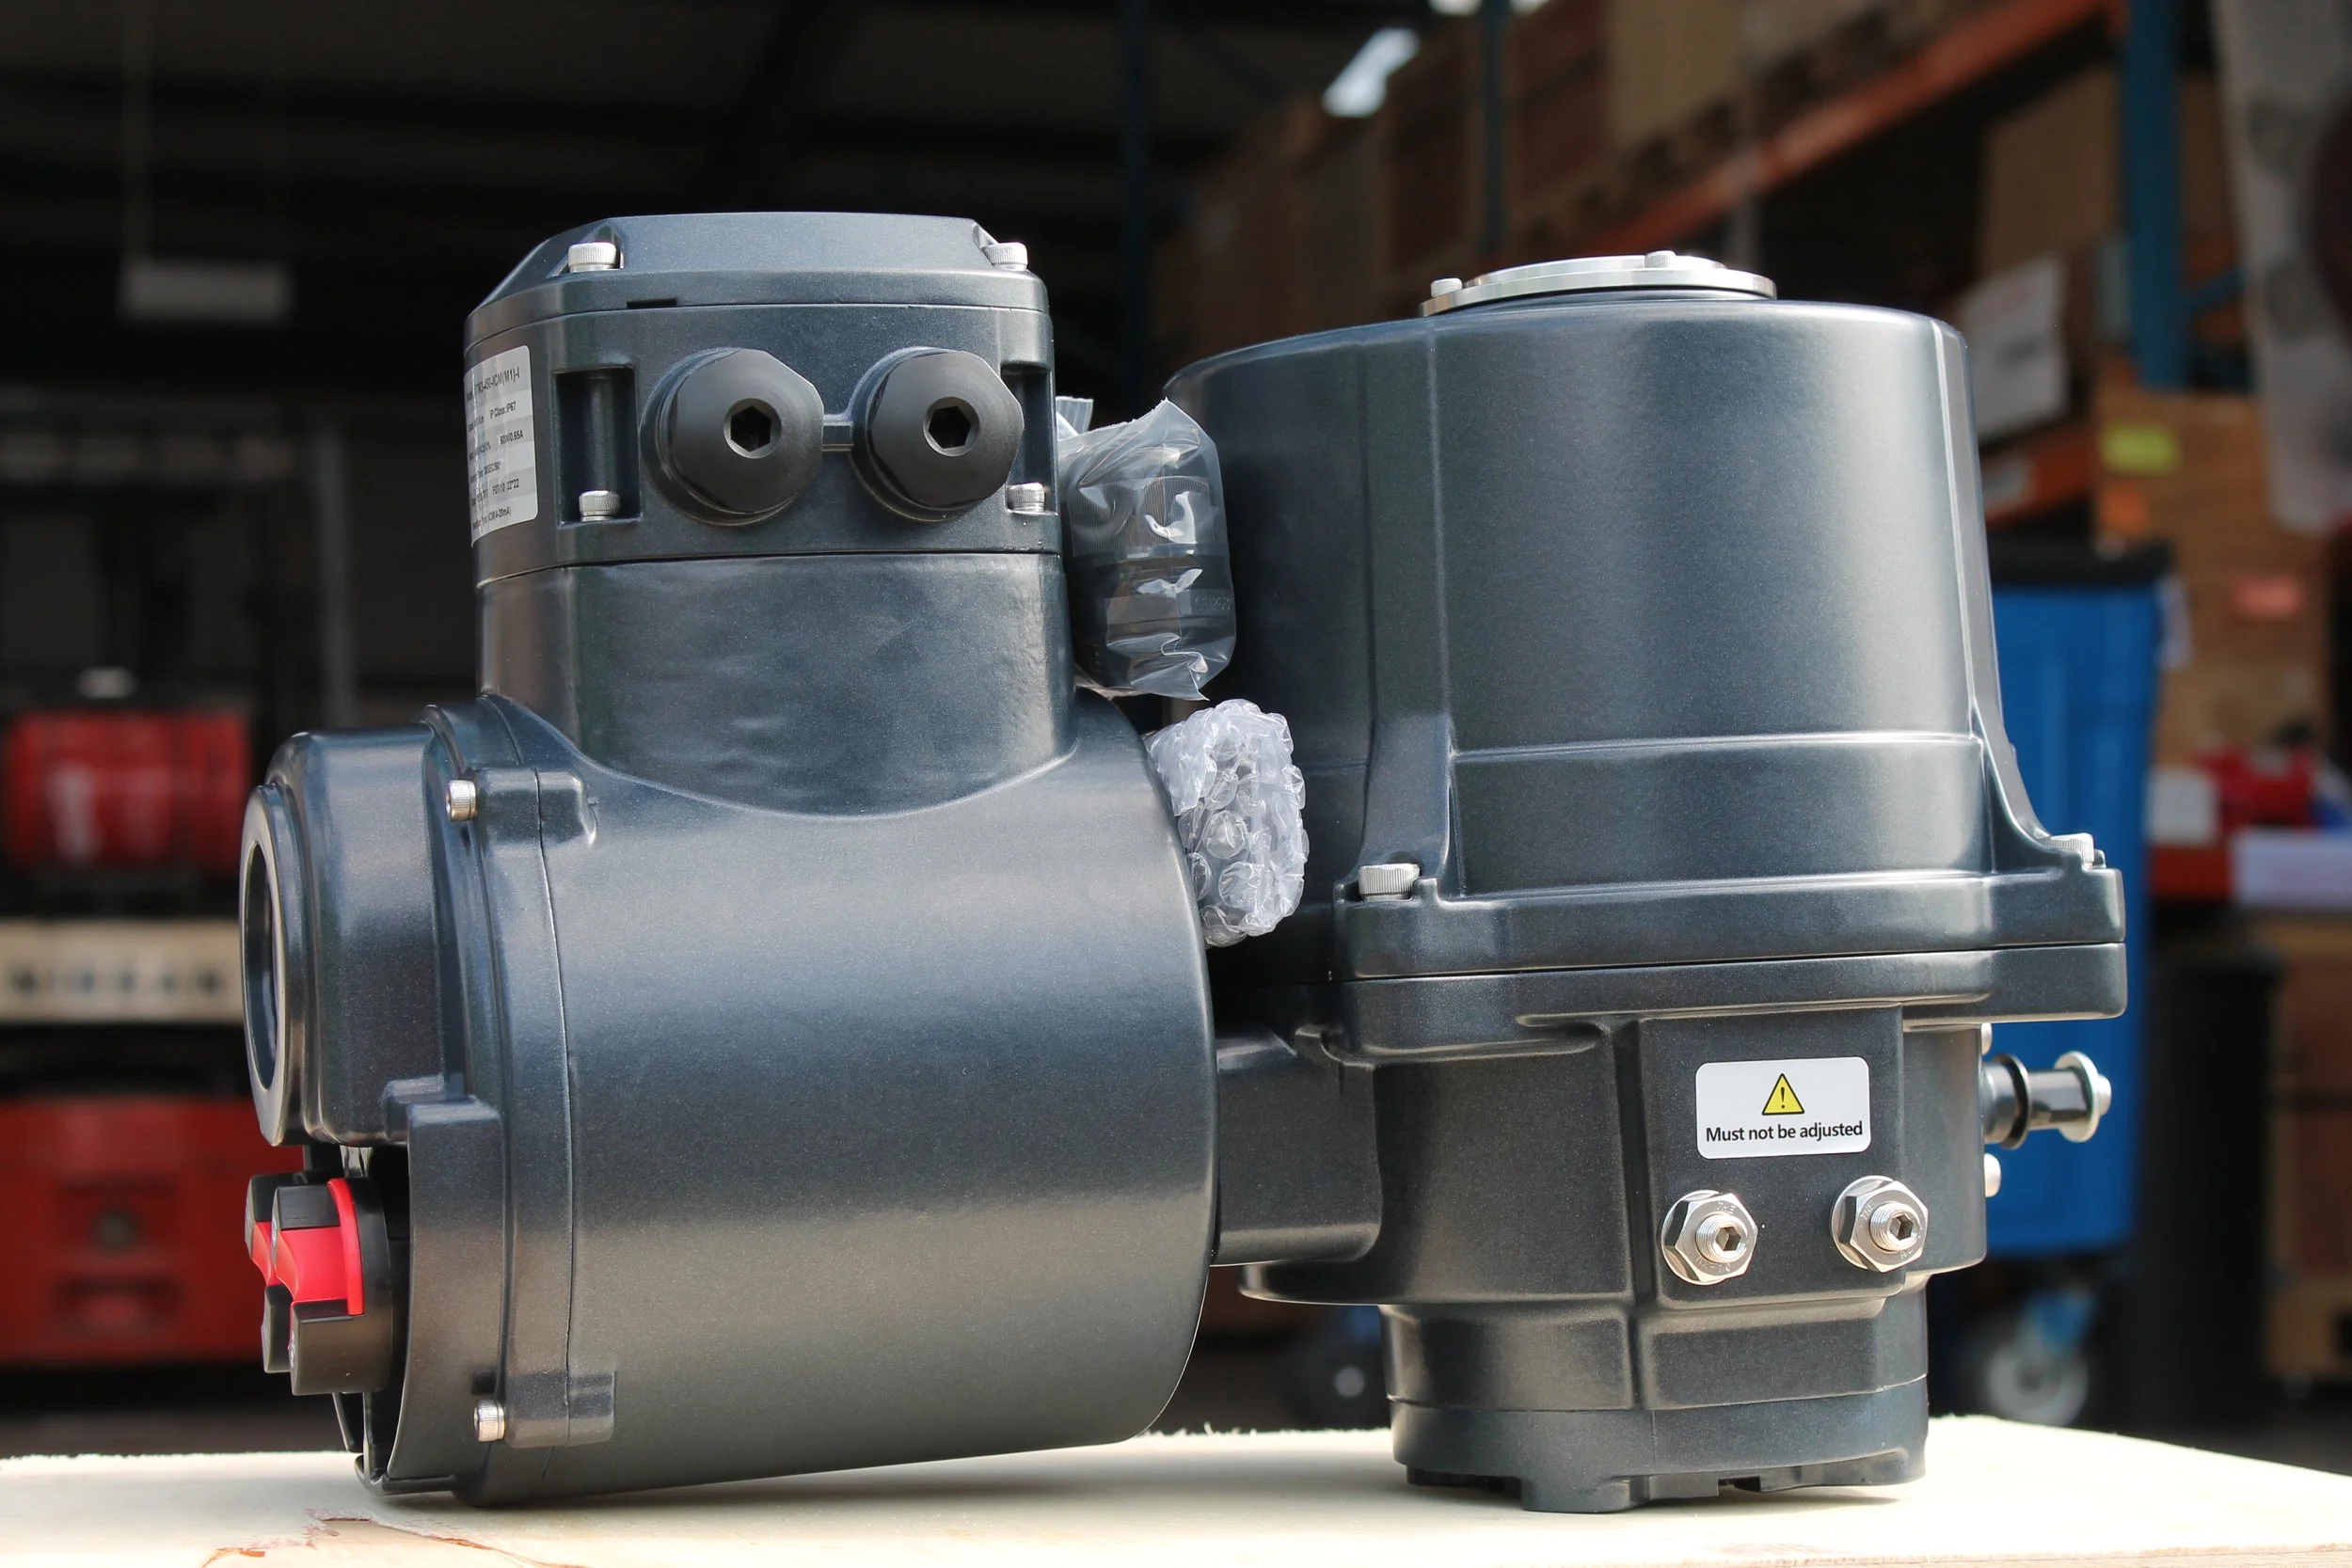
Actuator and Control System Inspection
Valves with actuators require additional inspection steps. Pneumatic, electric, and hydraulic actuators each have unique failure points.
Inspection checklist:
• Actuator air supply pressure (pneumatic systems)
• Motor current draw (electric actuators)
• Response time measurement
• Stroke calibration accuracy
• Limit switch operation
• Control signal verification
A delayed or incomplete stroke can indicate internal actuator wear, air supply restriction, or electrical faults.
All actuator performance readings should be recorded during every inspection cycle to track degradation trends.
Operational Testing and Functional Checks
Beyond visual inspection, valves must be tested under operating conditions.
Maintenance teams should:
• Cycle the valve fully open and closed
• Measure stroke time
• Confirm smooth travel without sticking
• Check torque or thrust resistance
• Monitor vibration during operation
Any increase in required torque or irregular movement may indicate internal wear, debris accumulation, or lubrication failure.
Functional testing helps confirm the valve performs reliably when needed in an emergency.
Measurements Maintenance Teams Should Record
A professional valve inspection checklist is only effective when supported by accurate data logging.
Teams should record:
• Upstream pressure
• Downstream pressure
• Temperature at valve body
• Actuator supply pressure or voltage
• Stroke time measurements
• Leakage observations
• Vibration levels
• Cycle count (if available)
These measurements allow predictive maintenance planning and help engineers identify long-term trends.
Consistent data recording turns inspection into intelligence.
Recommended Inspection Schedule Overview
Inspection frequency depends on valve duty, service environment, and process criticality.

Typical industry guidelines:
High-pressure or hazardous service: monthly
Control valves: monthly
Steam systems: monthly
Water service valves: quarterly
Low-duty isolation valves: bi-annual
Facilities should adjust schedules based on risk, downtime cost, and regulatory requirements.
Building a Reliable Valve Maintenance Culture
A structured valve inspection checklist is only effective when supported by trained personnel and consistent execution. Maintenance teams should receive regular training in valve inspection procedures, safety practices, and data recording standards.
Inspection should never be rushed. A five-minute shortcut today can lead to a five-day shutdown tomorrow.
Reliable inspection culture leads to:
• Fewer emergency repairs
• Longer valve lifespan
• Improved plant safety
• Lower operational costs
• Predictable maintenance planning
Conclusion
A step-by-step valve inspection checklist is a cornerstone of industrial reliability. By inspecting valves visually, checking leakage, testing actuators, recording measurements, and following a structured schedule, maintenance teams can dramatically reduce risk and improve system performance.
Valve inspection is not just about finding problems — it is about preventing them.